Creating a soft blurred edge on an image in Photoshop
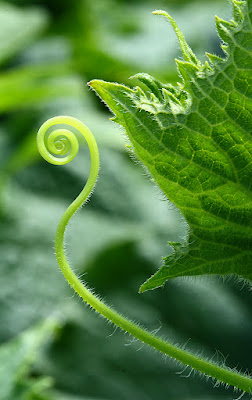 |
| Original Image without editing |
- Open image in Photoshop. Adjust brightness, contrast and color as needed. Save changes.
- Create a duplicate image
- If needed, flatten this new image to a single layer by clicking Layer > Flatten Image
- Create a duplicate layer by clicking Layer > Duplicate Layer
- Click File > Save As to save the duplicate image as a psd or tiff file (with layers)
- Blur the duplicate layer by clicking Filter > Blur > Gaussian Blur
You will have a preview of the amount of blur as you slide the slider.
Most often it is desirable to see some of the shapes and details of the original image.
When you have the desired amount of blur, click OK.
- Choose your elliptical marquee tool (keyboard shortcut M)
- Draw an ellipse over the area you wish to keep.
- Feather the edges of the selection by clicking Select > Refine Edge.
You should have a preview of the softness of the edge. Slide the slider until you have the best balance of softness and realism. Click OK.
- Cut the selection by clicking Edit > Cut.
- Review your results. If you don't like what you see, undo and redo until you like the results.
- Save your work.
- Flatten your image. Layer> Flatten
- Click File > Save As to save in a jpg file format for sharing and posting on the web.
|
|
| Finished image with blurred edges |
 |
elliptical marquee before and after
feathering |


