Replacing the Sky in an image using the Paste Into command
Photoshop and Photoshop Elements
 |
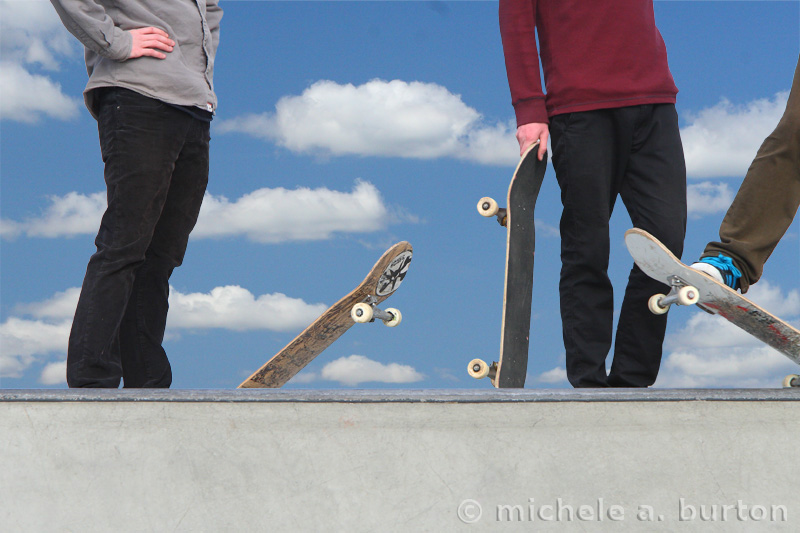
| Original Image of Skateboarders at Jefferson Park, Seattle |
 |
| Graphic Image of Skateboarders with Blue Sky and Clouds |
This is one of those tutorials that requires lots of side notes. While it might seem to be straightforward to drop a nice blue sky into an image with a big dull white horizon, it isn't really that simple.
Some things to consider:
- Scale - your replacement sky should look realistic behind your original image. If the clouds are too big or small, they will look highly unnatural.
- Horizon - it is easier to replace the sky when you have a simple horizon, such as a hillside slope. Irregular horizons, such as those with trees or grasses, can be difficult to create realistic transitions. Often soft original edges can become blurry looking replacements. Or, the photos can look like they were merged with a dull pair of scissors.
- Light - make sure that lighting conditions are similar and the highlights and shadows match in direction between the two images.
- Crispness - both images should have similar crispness. Don't blend a soft primary image with a crisp sky. It will look unreal.
- Experiment and have options - you may need to play with 3 or 4 base images and 3 or 4 skies before you find the 2 images that work together best. Be patient and enjoy the process.
- Make preliminary brightness and contrast adjustments to your two images individually.
- Save your work
- If you make any layers, create a duplicate image.
- Flatten the layers duplicate images (last item in Layers menu)
- Save your work
- Open your images/flattened duplicates in Photoshop
- Make the image whose sky needs to be replaced the active image.
- Use a selection tool to select the sky. Choose one of the following
- Try the magic wand (which selects by color); set your tolerance at 20 to begin.
- The quick selection tool selects by choosing pixels of similar qualities as you drag across an area.
- Polygon lasso tool can be used if you have a regular, geometric edge.
- All selection tools can be added to by holding down the shift key while clicking or dragging a second time.
- All selection tools can remove information by holding down the Alt key while clicking or dragging.
- Refine the edges of your selection. This is found under the select menu. Your feathering will most likely be at less than 2 pixels for a crisp edge.
- Make your sky image the active image.
- Select > All
- Edit > Copy
- Make your primary image the active image. It should still have the marching ants from selecting
- Edit > Paste INTO . This is very important. It will give you the greatest flexibility in resizing your sky image relative to the original.
- Save a COPY of the image as either a psd or tiff. These two file types preserve layers.
- Resize your sky as needed. Use the Free Transform command
- In Photoshop, click Edit > Free Transform
- In Elements, click Image > Transform > Free Transform
- Save your work
 |
| Replacement sky |